These days, everyone is finding themselves on video calls, often for much of the day. While we may feel comfortable in a more casual setting with colleagues, there are times where we must be more polished and professional. One of those moments is when we are hosting or participating in webinars, especially ones that get recorded.
While there is nothing wrong with a casual environment, you want to be sure to mirror the tone and intent of the webinar. And usually, that means being more professional, looking more professional, and optimizing the technical aspects of the call.
To up your video game and look and sound your best on camera, we’ve compiled some top tips to help you come across more professionally and create better, long-lasting content for essential target audiences.
Lighting
Looking good on camera can be as simple as getting the right light for your webinar. Many make the mistake of having a good light source but placing it in the wrong position. It’s essential to try a few options while on camera to see what works best, especially for the time of day.
Here are some things to consider when lighting yourself for optimal camera viewing:

- Do not sit with natural or immediate light directly behind you. This will cast a dark silhouette of you to your viewers, and no one will be able to see your face. As great as that view that you have is, there should be no sitting with windows or sliding doors behind you.
- Do not sit directly under ceiling or overhead lighting. This directional lighting places a shadow down your face and delivers a bright spot down the top of your head and forehead. It can also cause a more blurred and overexposed look to your video.
- Avoid placing lights close to either side of you. That can cast shadows across one side of your face while the other side can look too bright.
- Instead, place lighting directly in front of you. If you can position a light behind your computer where it casts light on your face, that is ideal. Many casual users now use ring lights that either clip to computers or sit on tripods set behind your computer. Test the placement while in camera mode to see what looks best and play with brightness to see what works for your particular setting.
- If you are conducting a webinar during off-hours, such as before sunrise or after, test the lighting again as you may need to adjust based on time of day.
Sound
How you sound might be more important than how you look on camera. After all, it’s what you’re saying that brings the most value to a webinar. Getting the sound right may take a little more effort, and depending on your amount of video activity, it may require a bit more investment.
- If you only use the built-in mic from your laptop or desktop, test the sound quality in advance of a webinar or call. You want to be sure there are no distracting background noises, and you want to ensure your voice comes across as clearly as possible. Depending on the quality and the room you are in, you may also hear a significant echoing in your recorded sound.
- While you don’t want to sit too close to the camera, ensure you are close enough to your computer that it can pick up on your voice. If you’re too far back, participants will have a hard time hearing you.
- To up your game just a bit, try headphones or earbuds. These will reduce the background noise and are a step above the built-in mic option. Again, test them with your computer to be sure they work, and sound comes through clearly.
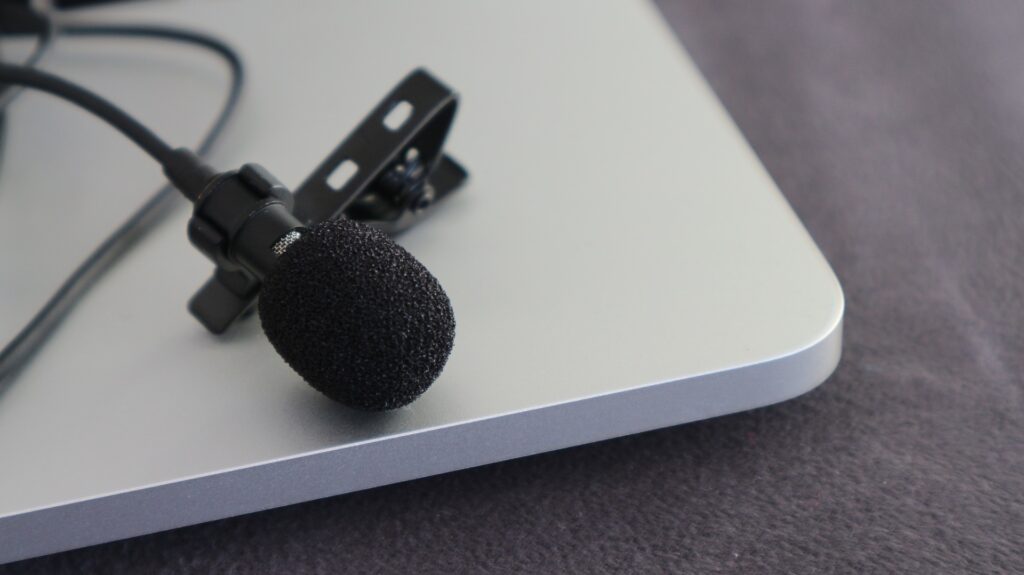
- If you plan to do more webinars and want more professional sound quality, consider investing in an external mic. They make great lavalier mics that are small and clip to your clothing, or you can invest in one of those professional mics that podcasters use. Whatever you select, be sure it makes sense for your purposes and your budget.
- Finally, if you’re participating in a webinar with more than one presenter, be sure to mute your microphone when you aren’t part of the discussion. Too many live mics can sometimes cause background noises that override whoever is speaking.
- If you’re not on mute and need to be live, try not to type as listeners can hear the clicking much louder than you can. Also, avoid shuffling papers around your desk as this too can be picked up by the microphone and amplified to participants listening.
Location
Consider the location where you plan to sit while on camera. If you live alone, it might be easy to sit anywhere at home, but give thought to what your viewers will see and hear while you’re on camera.
- Make sure the location you choose is roomy enough for whatever equipment you’ll be using. That includes your computer, lighting, any additional sound equipment you might have, and any visual aids you plan to use. You don’t want to look crammed into a closet or up against a wall.
- Make sure you’re comfortable. If you’re fidgeting in an uncomfortable chair or sitting in an odd position, that will be glaringly obvious on camera.
- If you have pets, make sure they are out of the room and can’t be heard from where you are. We’ve all experienced those barking dogs in the background or a cat walking across the screen. Given this is content that will have a longer shelf life, try to keep pets, children, and other family distractions as far away as possible.
- Whatever location you choose, be sure whatever is within the camera frame is professional and remove any distractions from participants’ focus on you and your content. You don’t want too much clutter in the background or food and drink in the view. Try to tidy up whatever is in sight so that it looks as polished as possible.
- If you have to be in your bedroom, ensure the bed is made and looks nice. While it’s not ideal for webinars, sometimes it’s all we have. If you can, try using virtual backgrounds instead.
- If you’re not using a virtual background, consider the wall color and how that will appear on camera. While some colors are beautiful in person, they can work against us on camera. Colors like yellows, browns, and greens can be tricky. It’s best to choose something neutral and calming.
Backgrounds
Virtual backgrounds are great for those of us who don’t have separate home offices. If you have a desk in your bedroom, it’s nice to replace that level of your personal life with something more professional. That’s where virtual backgrounds come in.
- Ensure the video service you use offers virtual backgrounds as an option. While products like Zoom do, Google Meet does not. And while Ring Central does, it may not allow you to alter the settings if it’s not an enterprise account you can control. Test this option in advance and never assume.
- Select a background that is a professional space or is a clean looking home living space with minimal distraction. For instance, while bookcases are lovely, don’t select something with all books as this might draw participants’ attention to all the spines and titles and not you.
- Test to see how your room lighting impacts the virtual background when you’re on camera. Sometimes things don’t look as nice as the image first appears. Once the image is selected and in background mode, it may look dark or overexposed.
- Be sure the background image is a high enough pixel quality. If you choose something not optimized for this feature, it will appear fuzzy or blurred on camera.
- Finally, if you have a green screen, use it. While tools like Zoom do not require it, the quality between with and without is significant. Green screens can eliminate blurring, image bleeding, and other image disparities.
Camera
Whatever computer you use either has to have a built-in camera, or you need to have an external one.
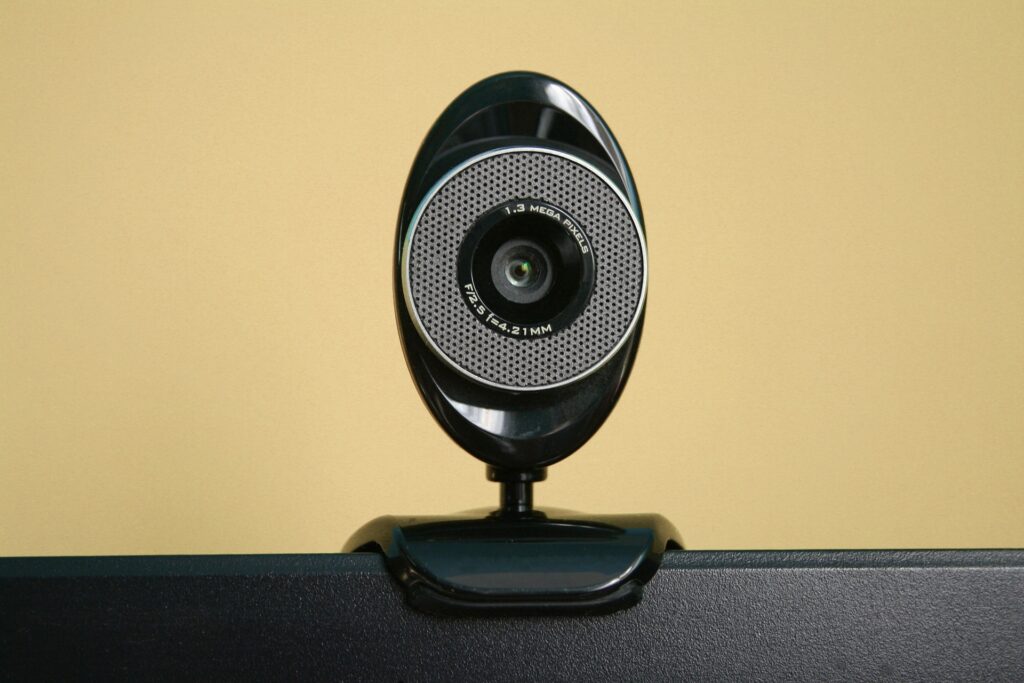
- Laptops with built-ins are not the highest quality, and desktops are often not much better. Test your camera in advance to see the level of quality.
- If you find the quality subpar and plan to do more webinars for your business, consider purchasing an external camera at the highest end of your budget. If your content message has a longer shelf-life, consider investing in a better camera for superior video quality.
- When it’s your turn to speak, be sure to look into the camera. Most of us stare at the screen and look at the people’s faces who share the call with us. But what the audience sees is that you aren’t looking at them. You have to look directly into the camera lens for the illusion you’re looking at and speaking to them. Try placing a piece of tape, sticker, or post-it near the lens to remind yourself to look into the camera for a more engaging webinar.
Positioning and Framing
There is nothing worse than watching a webinar where the speaker is poorly positioned throughout the entire presentation. Consider where you place your computer and camera level before recording webinars.
- If you are presenting from a laptop, consider the camera’s alignment to your line of sight. If it’s just your laptop on a table with you sitting in front of it, you’re likely in a position where you are hunched over and looking down at the camera, which means viewers are looking up your nose.
- Either invest in a computer riser to elevate your laptop or set it higher with a stack of books or a sturdy box.
- Note what is in the frame of your camera view. You don’t want to be seated too close to the camera where viewers see a giant head, but you also don’t want to be so far back that they have a hard time seeing or hearing you if you use the built-in mic. Test the view in advance, see what is in the frame view, and ensure it is pleasing, balanced, and professional.
Appearance and Attire
When we sit in on Zoom calls from home, we tend to wear whatever’s comfortable without thinking beyond that moment. But attire can change the look and feel of a recorded webinar without much effort.

- Stick to fabrics that are solids and not a busy pattern. Solids always look better on camera and can make your face look better too. Don’t wear green, especially if you’re using a green screen, but test which colors may look best on camera. If your background is dark, your chair is black, then that black blouse may portray a face on screen with no body.
- Steer clear of white shirts. You can test this out too, but an all-white shirt can often look too bright and distracting on screen. If you don’t want to go with a darker color, try a neutral instead of all white.
- If you usually wear lots of jewelry or big earrings, remove them for the webinar. Not only are they distracting on camera, but they can also cause background noises that overpower your voice.
- Don’t forget about your hair when you consider your on-camera look. You may have long locks of hair that can often fall in your face or cause you to be brushing it away continually. Both of these can be distracting for your viewers. Just consider clipping hair back so you aren’t fussing with it while on camera, or just be sure it’s neatly in place. You still want to be yourself, but don’t detract from your important message.
- Bonus tip: If you use Zoom, there are wonderful features in the desktop app video settings, starting with one called “Touch up my appearance” that works a little magic by doing some light skin smoothing while you’re on camera. They also now offer filters, auto-adjust lighting for low lights, and physical appearance enhancements such as lipstick color and eyebrow shapes. It’s not perfect, but every bit helps present your most polished and professional you to the world.
And don’t forget to test, test, and test again. It’s best to be prepared and know what to expect then to have regrets later.
Good luck with your improved video endeavors as you create new and inspiring content.
For your convenience, download and print a cheat sheet version of this Guide to Better Webinars.